Content of this topic
Projects can be created in two ways. We recommend using the Workflows view to create projects, as you have all related setting options available upon creation.
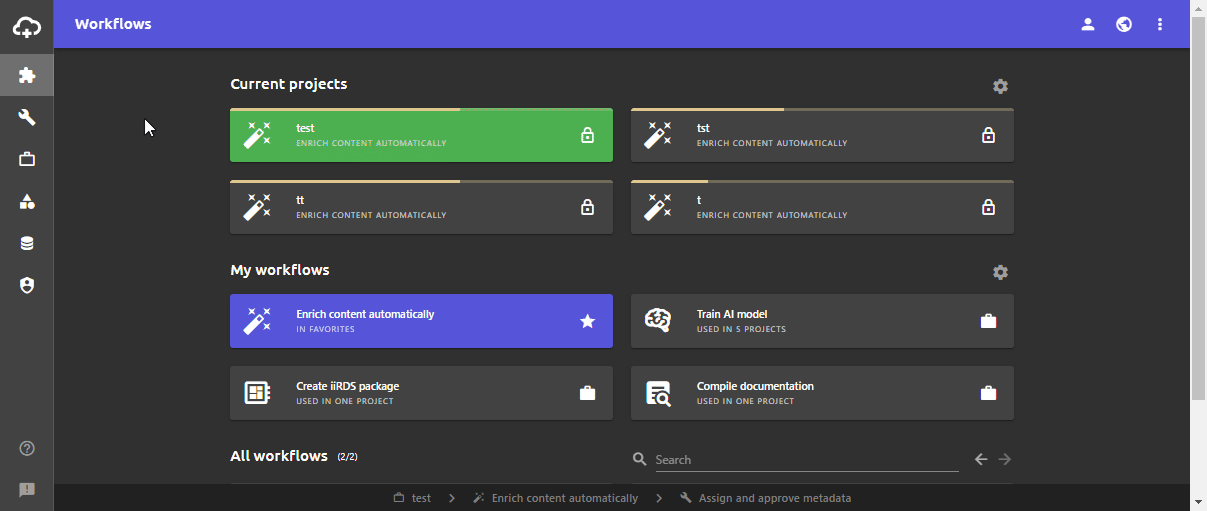
Create project in the Workflows view
- Open the workflows view.
- In the All workflows section or in the My workflows section, click on the workflow on which the project is to be based.
A drop-down menu opens in which the project can be created. - Enter a project name.
- Set the visibility as desired using the button.
- If necessary, open and adjust the project settings using the button or the project guidelines using the button.
- Click on START WORKFLOW.
The project is created and started.
Create project in the Projects view
- Open the Projects view.
- Click the Add button .
The Create project dialogue opens. - Enter a project name.
- Click in the Workflow field and select the desired workflow from the drop-down list.
- Set the visibility as desired using the drop-down list.
- To create the project, click on CREATE PROJECT. The project is created and appears in the Projects view.
Tip: You can adjust settings such as project guidelines in the Edit project dialogue if required. In the Work view, you can also edit the settings of the currently active project using the settings button in the top left.