Content of this topic
Functionality
You can specify metadata for all objects in a project using project guidelines. All objects of the project are assigned the specified metadata. The project guidelines override all other extraction methods.
In workflows in which no metadata is assigned, e.g. in the workflow Share files, you can use the project guidelines to define which criteria the files to be uploaded should meet, e.g. information product “Operating instructions”, language “DE”, product variant “T3-B”. Messages to the recipient can be entered as comments.
In the workflow step Add content, the project guidelines are displayed in a panel above the list of objects.

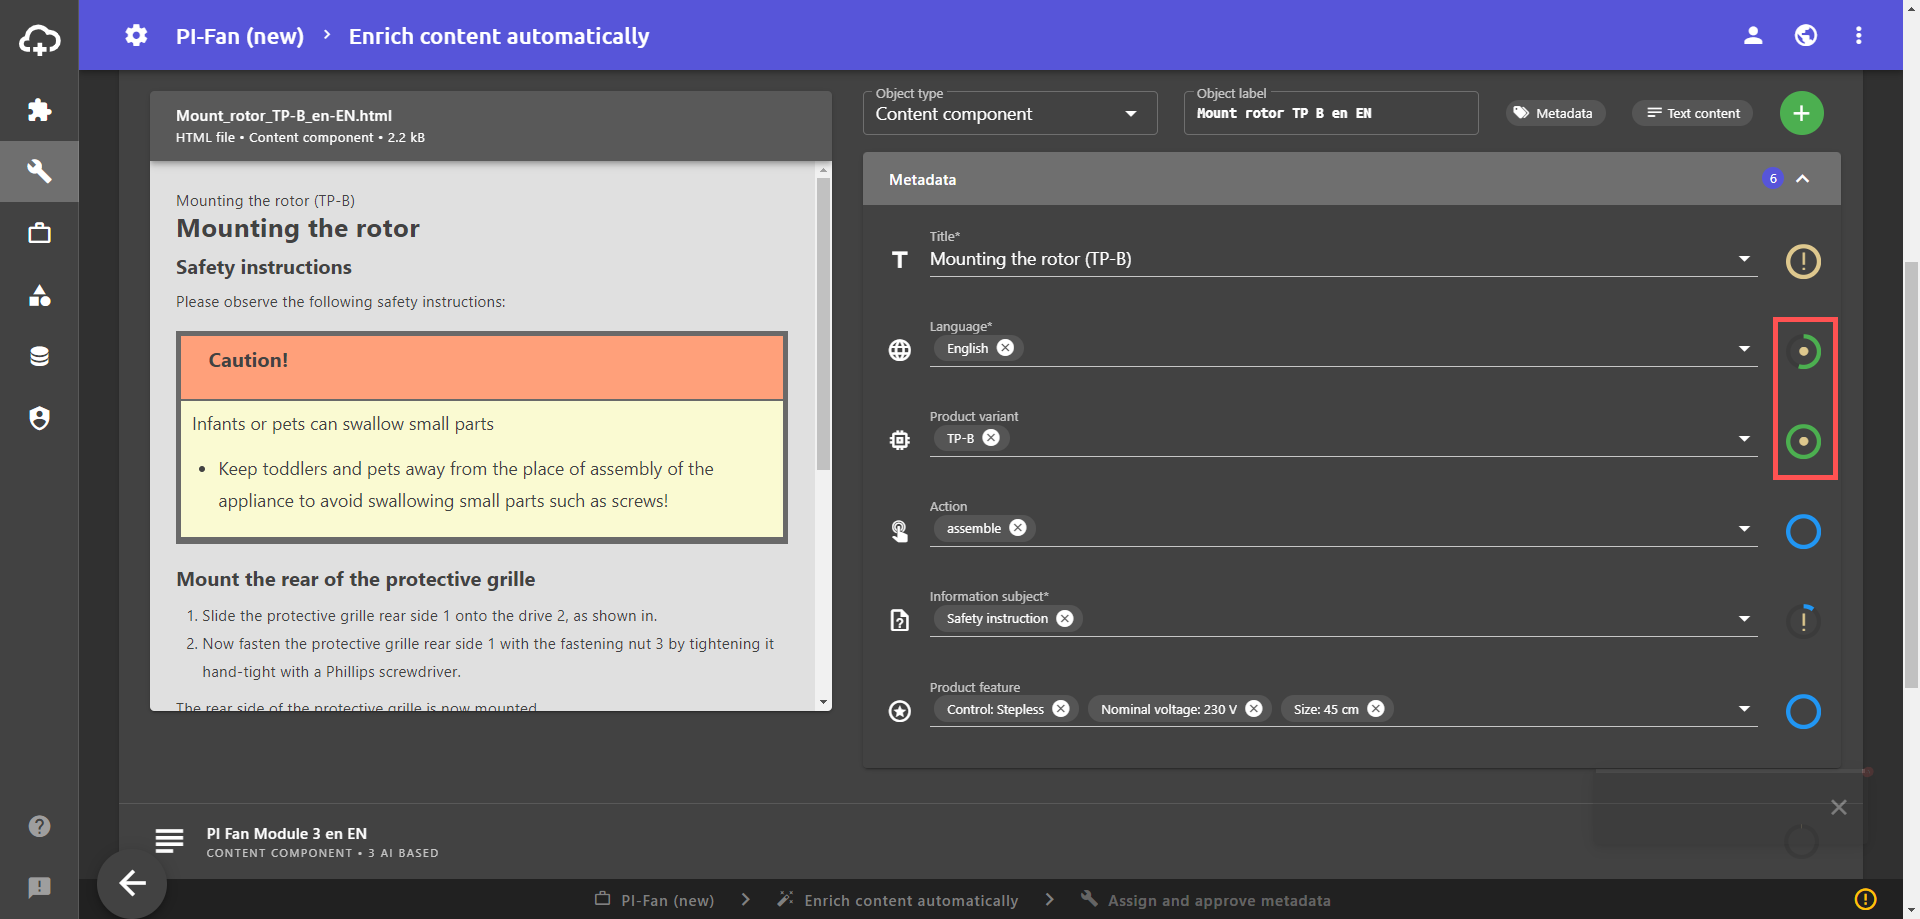
Metadata set by project guideline can be identified by checking the respective metadata indicator in the workflow step Assign and approve metadata. The metadata indicator for project guidelines is green with a beige dot in the middle.
Metadata that has been set via project guidelines can also be changed in the workflow step Assign and approve metadata. In this case, the metadata indicator uses the symbol to show that there is a project guideline that differs from the currently set value.
Set project guidelines
The easiest way to set project guidelines is when creating a new project.
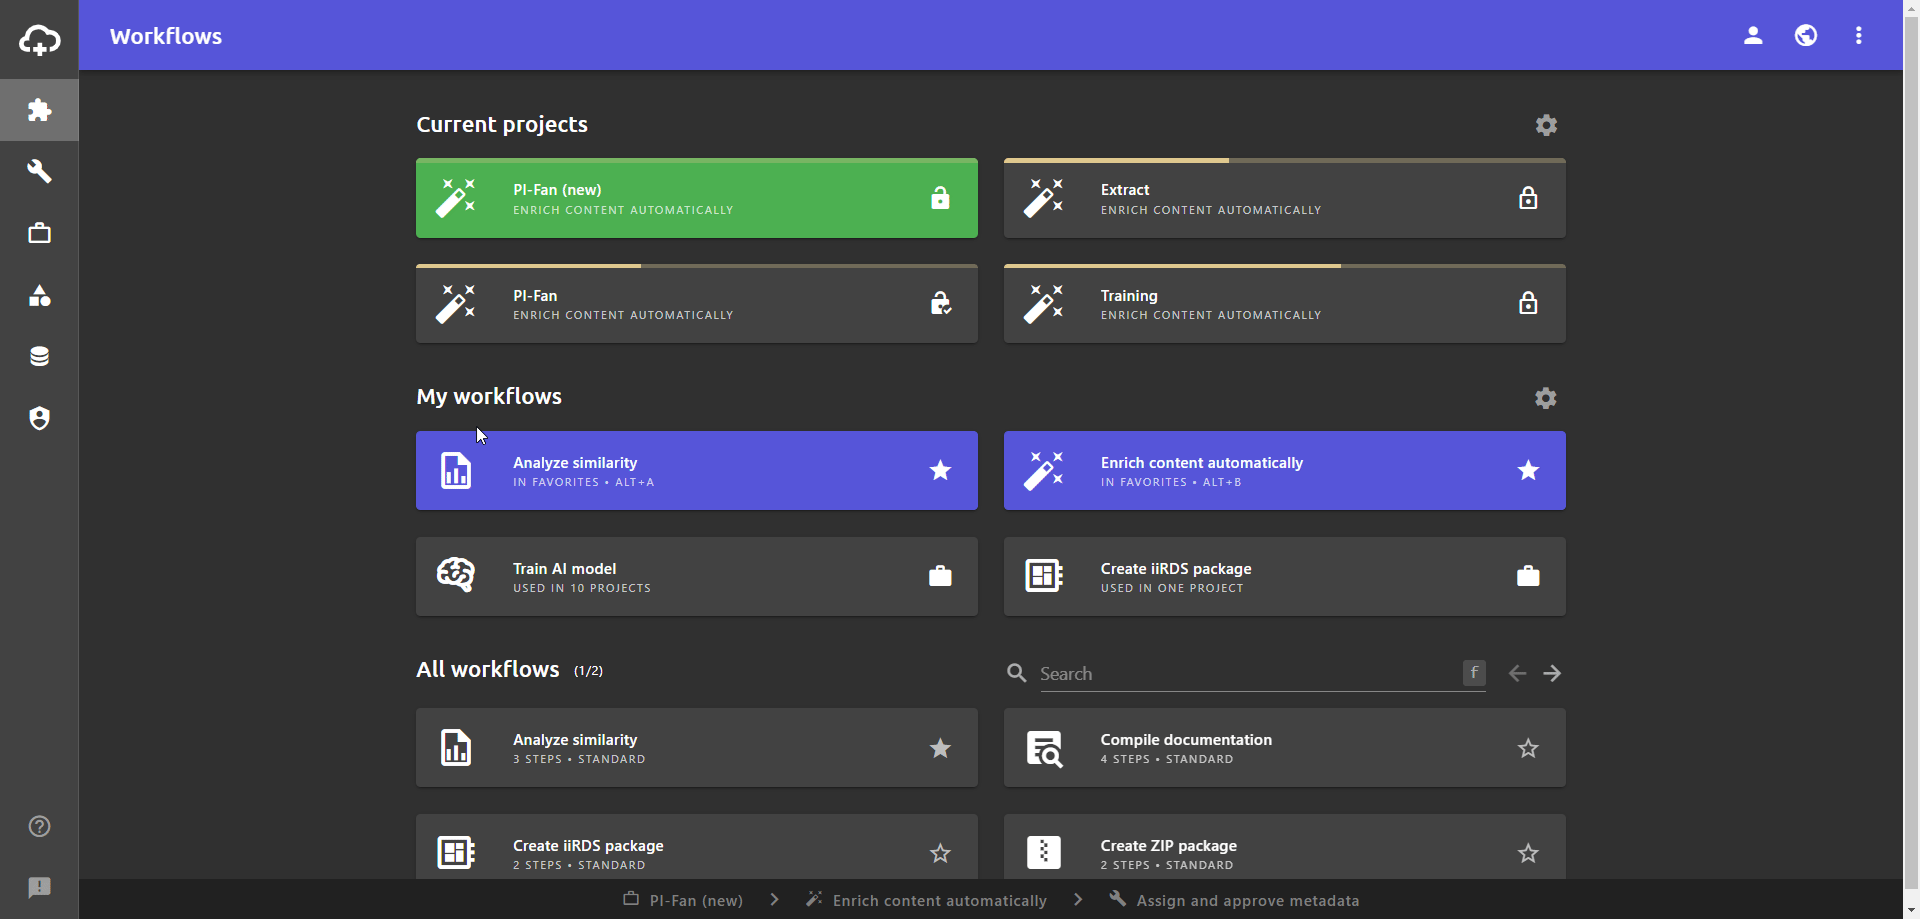
- Open the Workflows view.
- In the All workflows area, select the desired workflow to create a project based on this workflow. A dialogue opens in which the project can be created.
- Click on .
A menu opens where you can set project guidelines. - Click the Add button.
- Click in the Metadata field.
- Select the desired metadata from the drop-down list.
- Confirm the selection with ADD METADATA.
- Click in the metadata field and select the desired value from the list.
- To close the drop-down list, click outside the list on the dialogue.
- If necessary, adjust the visibility via or project settings under .
- Assign a project name.
- Click on START WORKFLOW. The project is created and started. The project guidelines are displayed in the Add content view in a panel above the table view. In the Assign and approve metadata workflow step, the project guidelines can be seen by checking the respective metadata indicator.
Add or change project guidelines later
Once the project has been created, the easiest way to edit the project guidelines is directly in the work view of the project via the Project settings button next to the project name.
You can also display and edit project guidelines for existing projects in the Edit project dialogue in the projects view.
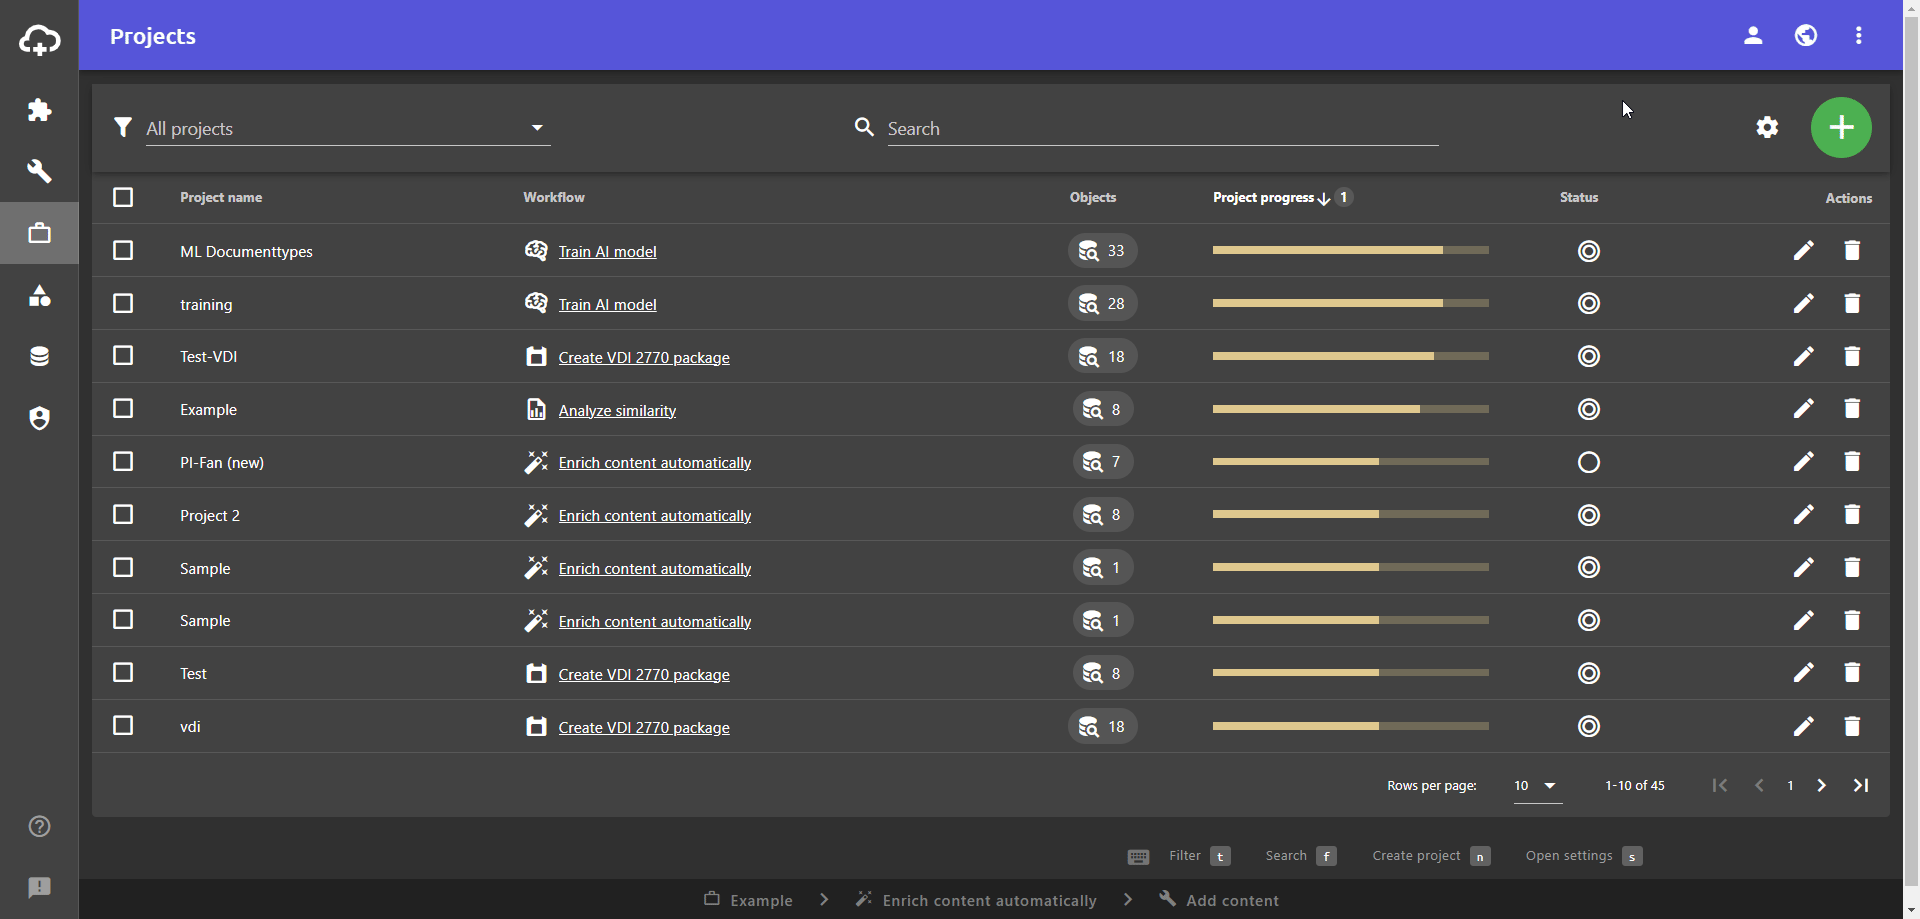
- Open the Projects view using the side bar.
- Click on in the row of the desired project to open the Edit project dialogue.
- Click on to jump to the Guidelines tab.
- Click the Add button.
- Click in the Metadata field.
- Select the desired metadata from the drop-down list.
- Confirm the selection with ADD METADATA.
- Click in the metadata field and select the desired value from the list.
Changes will be saved automatically. - To close the drop-down list, click outside the list on the dialogue.
- Close the Edit project dialogue.