Content of this topic
To make it easier to work with many projects, you can organize projects into groups.
Create new project groups
Project groups can be created and assigned in the Properties view, when creating projects and when working in projects.
Create project groups in the Properties view
- Open the Properties view.
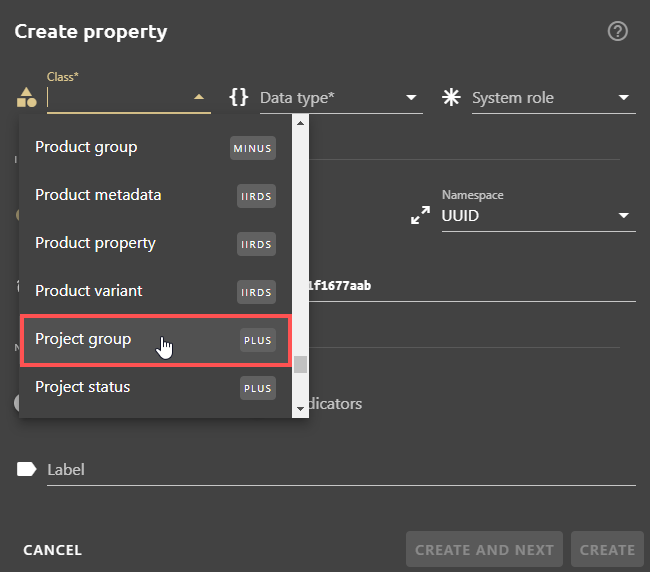
- Click on the Add button and then on the button.
The Create property dialogue opens. - In the Class field, select the Project group class from the drop-down list.
- Assign the data type list value.
Note: No system role is assigned.
- Click in the Label field and enter a name for the project group.
Tip: If you use plusmeta in several languages, it makes sense to assign multilingual labels. The English group name is displayed if you use plusmeta in English.
Create project groups when creating projects
- Open the Projects view.
- Click the Add button .
The Create project dialogue opens. - Assign a project name and select a workflow.
- Click in the Project group field and create a new project group or select the desired project group from the drop-down list. The project is now assigned to the desired project group.

Create project groups when working in projects
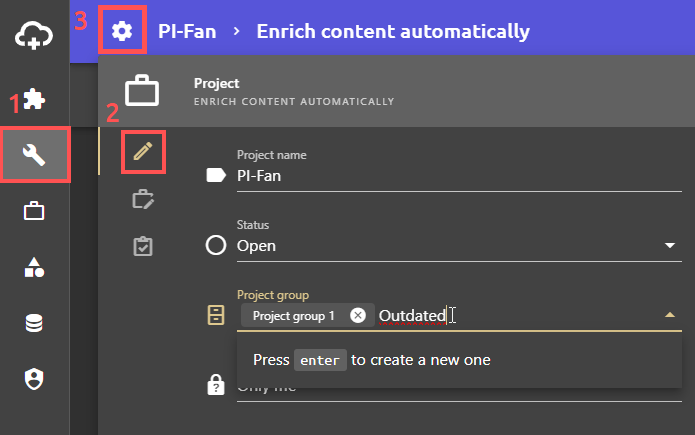
- Open the desired project.
- Open the project settings at the top left of the work view.
- Click in the Project group field and create a new project group or select the desired project group from the drop-down list.
Edit project groups
- Open the Properties view to edit the project group.
- Use the filter function or the name to find the project group you want to edit.
- Click on Edit properties.
The Edit properties dialogue opens. - Change the label or add a multilingual label.
Delete project groups
- Open the Properties view to edit the project group.
- Use the filter function or the name to find the project group you want to edit.
- Click on Delete property.
The Delete property dialogue opens. - Click YES to confirm.
Filter project groups
The Current projects view in the Workflows view and the Projects view can be filtered with project groups.
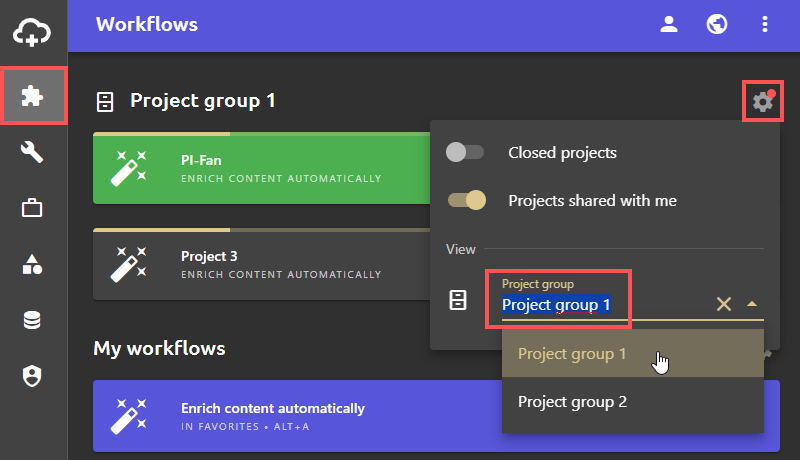
Filter projects in the Workflows view
- Open the Workflows view.
- Click on the gear at the top right.
- Select the desired project group in the Project group field. Only projects in this project group are displayed.
Filter projects in the Projects view
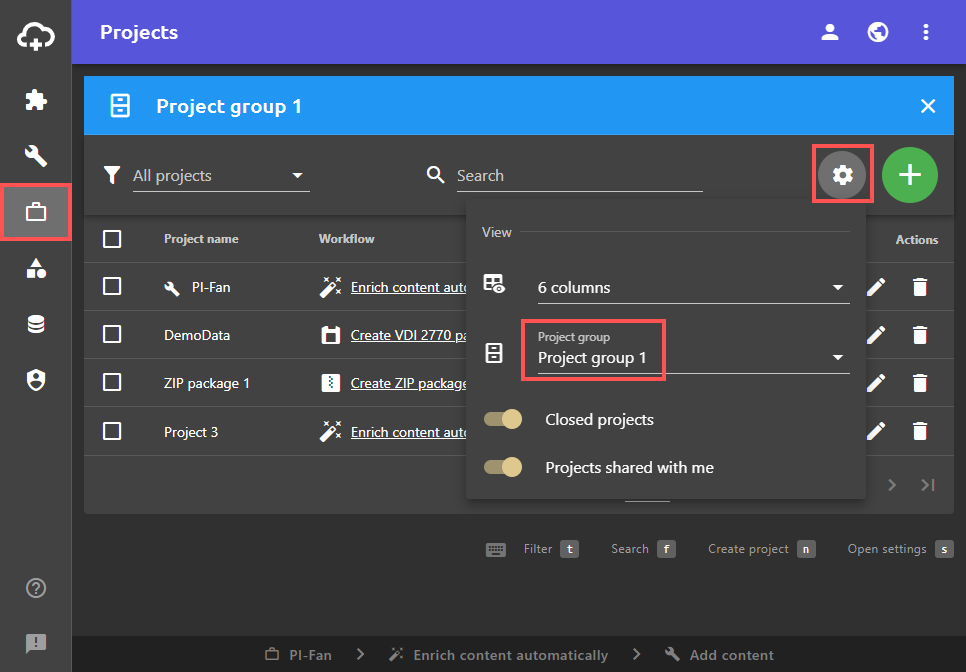
- Open the Projects view.
- Click on the gear at the top right.
- Select the desired project group in the Project group field. Only projects in this project group are displayed.