Content of this topic
In the Edit properties dialogue, you can customize your property and do individual configurations. You can find the dialogue in the Properties view via the button , in the row of the respective property.
Layout
The dialog has of 7 tabs:
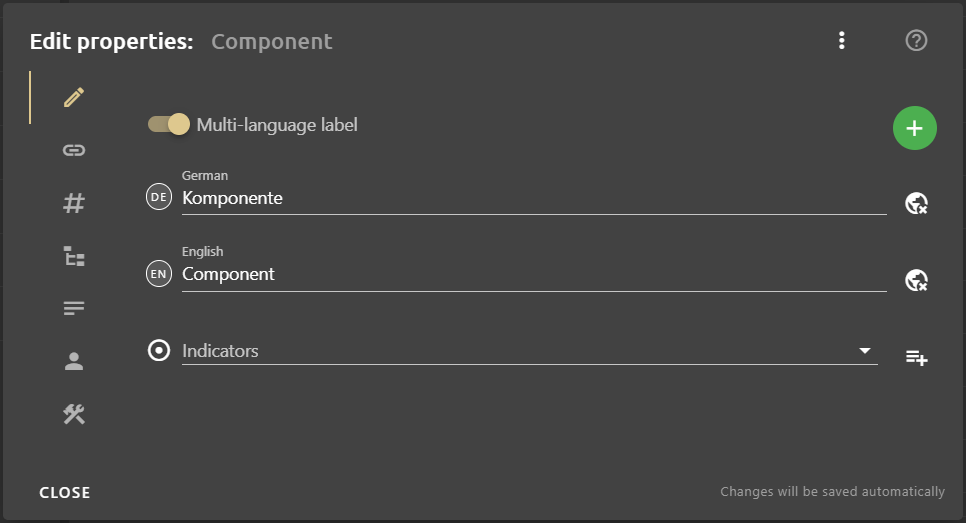
Label: In this tab, the label can be customized. In addition, multi-language labels are managed here. Indicators that play an important role in automatic metadata extraction can also be edited. You can use the button to insert a whole list of indicators at once.
Relations: In this tab, relations can be added and managed.
Attributes: In this tab, attributes can be added to the property and managed.
Hierarchy: In this tab, the hierarchical structure in which the property is located can be viewed.
Description: In this tab, an optional description can be added.
Modifier: In this tab you can see when and by whom the property was created and last edited.
Settings: In this tab, the class and data type of the property can be changed. The identifier/URI and namespace of a property are not customizable.
Example: Configure newly created metadata
This example assumes that a new property was previously created with the system role Metadata.
- On the property, click the button to open the Edit properties dialogue. The Edit properties dialogue opens.
- Open the Relations tab.
Note: The system roles Metadata and Mappable property already have predefined dependencies on specific relations. If you have selected the system role Metadata for the property, some fields appear in the Relations tab that only need to be filled. The relation has roles appears with the previously assigned system role. In this field you can add additional system roles if you need them for your individual configuration. To learn more about system roles and their functions, visit the System roles help page. You can add more relations using the Add button.
- In the field has icons you can select a suitable icon from the drop-down list. It is displayed later in the workflow step Assign and approve metadata. Since icons are also properties, it is possible to create additional icons.
- In the field has associated relation types, select the relation with which the metadata should be assigned to objects. Only existing relations can be assigned. If you want to assign a relation that does not exist, you need to create it first.
- Open the Attributes tab to make the desired configuration here.
Note: Again, for some system roles there are already predefined dependencies to certain attributes. If you have previously selected the system role Metadata for the property, some attributes already appear in the attributes tab. You can add more attributes using the Add button . You can learn more about attributes and their functions on the Attributes help page.
- Close the Edit properties dialogue.
- All your changes will be saved automatically.