Content of this topic
All objects are displayed in the objects view. Objects in plusmeta are often files (HTML, PDF, XML, etc.) or text objects (fragments, content components, etc.). However, workflow objects such as a similarity analysis or a machine learning model also count as objects. In addition, iiRDS containers or VDI 2770 documentation containers created in projects are also considered objects.
Layout
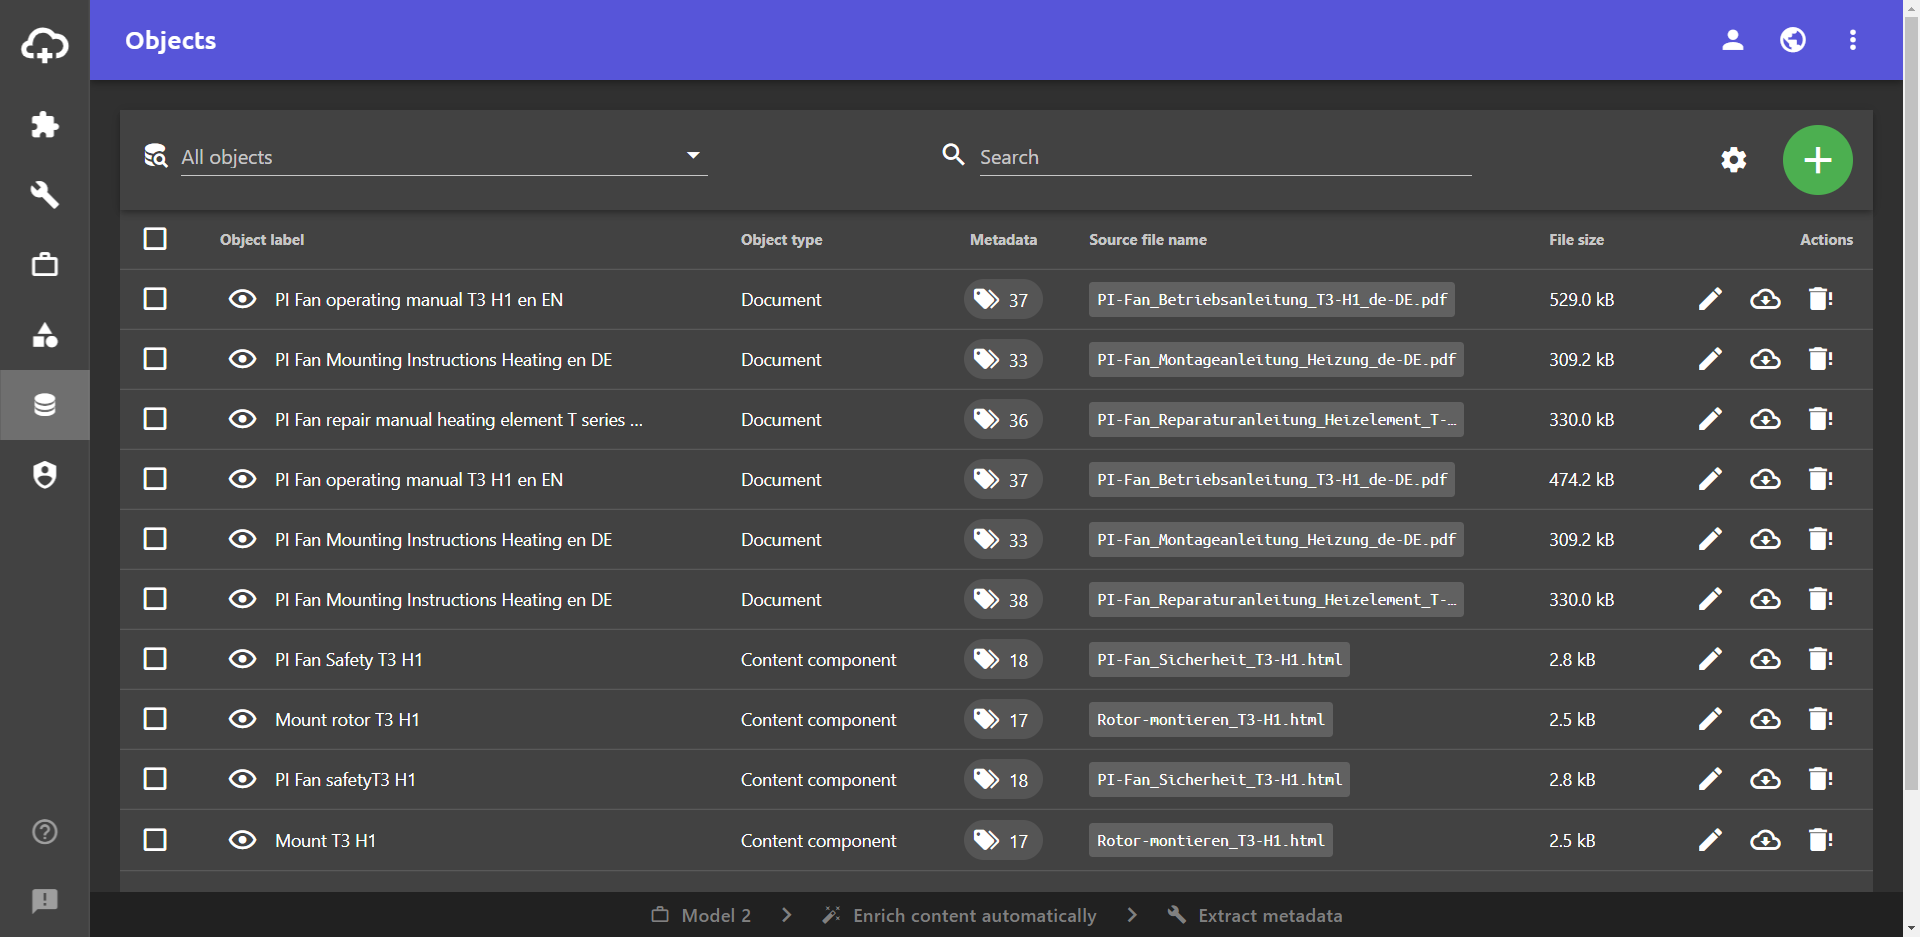
The objects view is a table view. The following columns are displayed by default.
- Object label: The name of the objects is shown in this column. The object label is different from the name of the source file. The object forms a kind of case around the uploaded file. The name of the ‘case’ is the object label. You can display the name of the source file in an additional column.
The button for the file preview is also displayed in the Object label column. You can find out more about this below in the section File preview. - Object type: This column shows which type the object corresponds to. This can be a document, a content component, an iiRDS container or an ML model, for example. There is a distinction between the object type and the type of source file. The source file type is more specific. For example, if an object has the object type content component, the source file type could be an HTML file.
- Created at: This column shows you when the object was created.
- Actions: In this column, you can edit objects , download the source file of an object and delete objects .
If there is an exclamation mark next to the trash can icon , the object is used in one or more projects.
At the top of the table you will find the filter bar , the search bar , the table settings and the add button .
At the bottom you can set how many table rows should be displayed per page. If you have more objects than are set here, the table will span over several pages. You can switch between the pages at the bottom right using the buttons < and >.
Overview of all columns
The following table shows an overview of all the columns that can be shown in the objects view.
| Column name | Content |
|---|---|
| Object label | Name of the case that plusmeta creates around the object. |
| Object type | Shows which type an object is, e.g. content component, document, etc. |
| Projects | Shows how many projects the object is used in. Clicking on the button opens the projects dialogue with detailed information on the projects. The projects dialogue only shows the projects that you have created yourself or that have been shared with you. |
| Metadata | Displays the number of metadata contained in the object. Clicking on the button opens the metadata dialogue with detailed information on the metadata contained. |
| Text content | Shows how much text the PDF contains or how much text has been extracted. plusmeta indicates the number of characters including spaces. |
| Source file name | Shows the actual file name of the source file. |
| Source file type | Shows the type of source file, e.g. HTML file, PDF document. |
| Creator | Indicates who created the object. |
| Created at | Shows when the object was created. |
| File size | Shows how large the file is, e.g. 2.5 KB. B = Byte, KB = Kilobyte, MB = Megabyte, GB = Gigabyte. |
| Actions | In this column, you can edit objects, download the source file of an object or delete objects. If there is an exclamation mark next to the garbage can symbol, the object is used in one or more projects. |
Filter
You can use the filter function to filter the objects displayed in the table according to their type.
Set filter
- Click on the field next to the filter icon .
A drop-down list opens. - Select the object types to be filtered by activating the checkboxes.
The selected types are highlighted in yellow. - Click outside of the drop-down list to close the drop-down list.
You will only be shown the objects of the type(s) that you have selected in the filter.
Delete filter
You can delete the filter using the x in the filter field or deactivate the filter value as follows.
- Click on the field next to the filter icon .
A drop-down list opens. Only the activated filters are displayed. - By deactivating the checkboxes , deselect the object types that should no longer be filtered for.
The deselected filter option disappears from the drop-down list. As soon as you deselect the last filter, the original drop-down list appears with all filter options. - Click outside the drop-down list to close it.
The filter or filters have been deleted and all objects are displayed again. If you have not deleted all filters, filtering will continue according to the activated object types.
Search
You can use the search bar to search for objects. All object labels are searched. If you set a filter, only the filtered objects are searched.
Customize view
You can open the table settings via the settings button . In the table settings, you can customize the table view. Among other things, it is possible to set additional filters via the table settings. If you have set a filter in the table settings, plusmeta displays a red dot on the settings button.
Click anywhere outside the table settings to close them.
Download source file
You can show or hide the download button using Download source file in the table settings .
Additional information
The download function can be used for supported objects with the button in the Actions column. If the file already exists locally, a different icon is used: For objects for which no source file is available, the button is disabled.Edit columns
You can use the drop-down list with the icon to edit the columns of the table view in the table settings . You can add or remove columns.
More information
The drop-down list with all the usable columns can be expanded next to the icon. By activating or deactivating the checkboxes , columns are added or removed from the table view.For more information, see the section Edit columns of the 'Customize table views' help page.
Delete filtered objects
You can use the Delete filtered button to simultaneously delete all objects that are currently displayed based on the filters you have set. This can be helpful if you want to delete all objects of a certain object type.
If you have not set any filters, the Delete filtered button appears grayed out.
- Click on the settings button to open the table settings.
- To delete all objects that are currently displayed based on the filters you have set, click on Delete filtered . The number of objects to be deleted is shown in brackets next to the button.
A dialogue window opens. - In the Delete filtered dialogue, confirm the deletion with YES .
The objects are deleted.
Export selection
You can use the Export selection button to download objects that you have selected using the checkboxes in a ZIP file If you have not selected any objects, the Export selection button appears grayed out.
- Activate the checkboxes next to the desired objects to select them.
- Click on the settings button to open the table settings.
- Click the Export selection button to download the selected objects in a ZIP file.
The ZIP file is automatically created and downloaded.
Sorting
By clicking on the column header, you can sort the table view according to the corresponding column. It is also possible to sort by several columns. Several icons are used for this:
- : Sort in ascending order (click once)
- : Sort in descending order (click twice)
The small number next to the arrow indicates the order in which they are sorted. For example, if you have activated two column headings for sorting, a 1 is displayed next to one and a 2 next to the other. In this case, sorting is first performed according to the column with the 1 and then according to the column with the 2.
Select multiple objects
- Click on the checkbox of a single row to select only this row.
- Click on the checkbox in the top row (heading row) to select all rows on the page.
File preview
You can display a preview for some object types.
- In the Object label column, click on the button next to the object you would like to see a preview of.
Note: Not all objects can be viewed in the file preview. HTML and PDF files, as well as image files, are fully supported; the text can be displayed for XML files. The quick preview function is crossed out for all other file types:
- Click in an area next to the preview window to close the preview.
Other options:
- Click on the preview page to see an enlarged view.
- You can use the arrow buttons or the slider to scroll through the pages of the preview if your file contains several pages.
Note: To ensure good performance, only the first page of a multi-page file is preloaded locally. If you click on the arrow button to see the next pages, the Document will be loaded from the server. For this reason, you may have to wait a short time for the file to be made available locally. If you have shown the button , you can also recognize this by the fact that it is then displayed filled in white .
Delete objects
You can delete individual or multiple selected objects You can also delete all currently filtered objects at once. You can find out more about this in the section Delete filtered objects.
Delete individual objects
Within a table row, you can use the button to delete an added object.
- Delete object. Object is not used in any project.
- Delete object. The object is used in other projects and is removed from all projects by deleting it.
Delete multiple objects
If at least one object has been selected using the checkboxes in the table, you can delete it using the button. The red delete button only appears if at least one object is selected.