Content of this topic
Assign and approve metadata
In the workflow step Assign and approve metadata, you can check the extracted metadata to add, edit, remove or approve it if necessary.
- Open a project and go to the workflow step Assign and approve metadata.
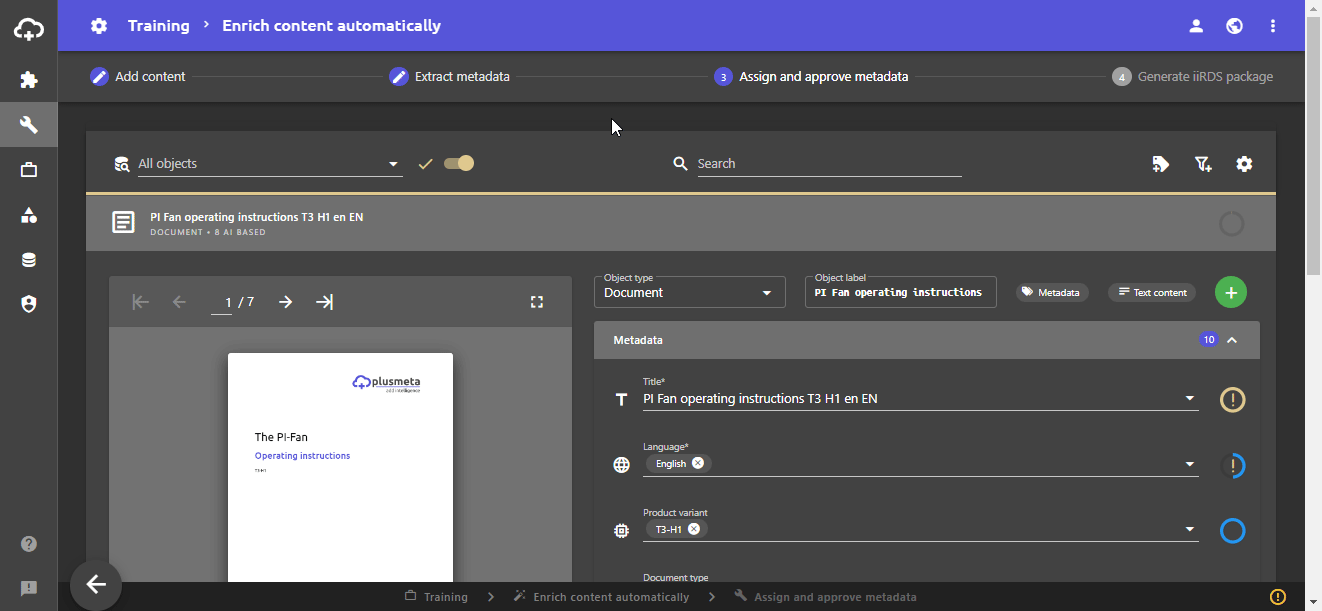
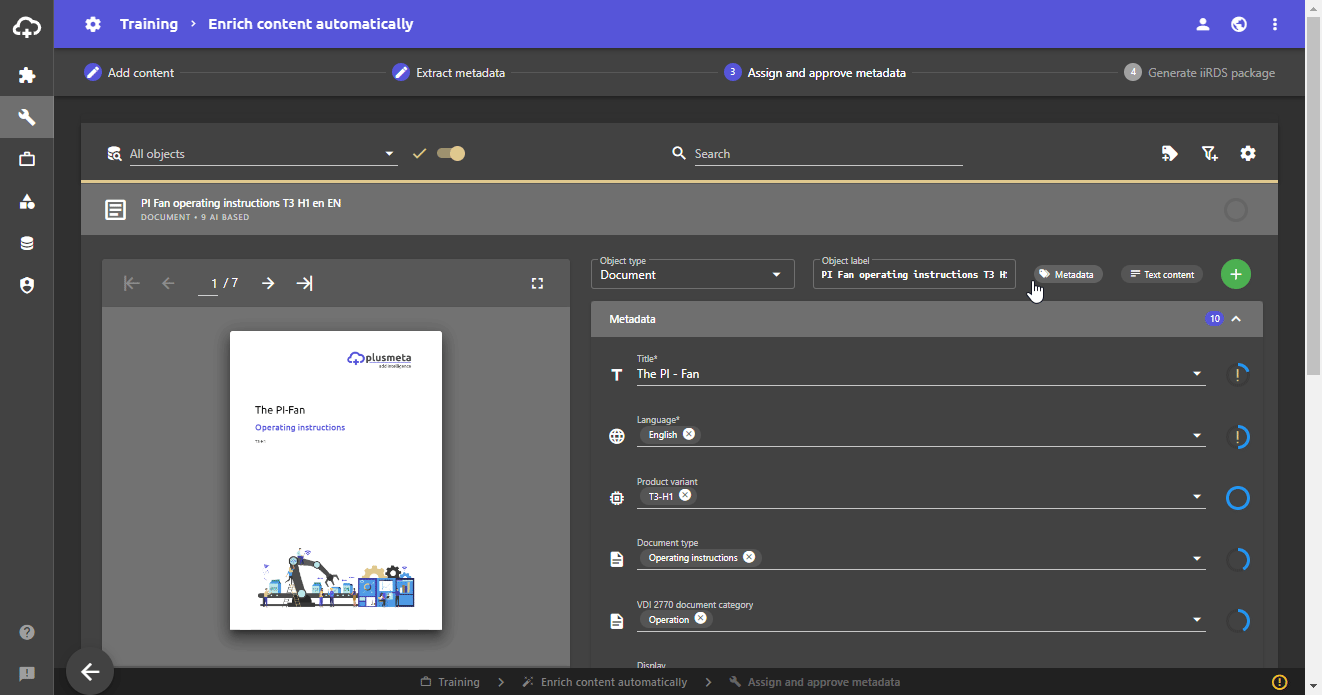
- Click on an object to see the results in detail.
The detailed view with the extracted metadata opens. - Edit or add to the extracted metadata if it is not correct or complete. To do this, click in the corresponding metadata field.
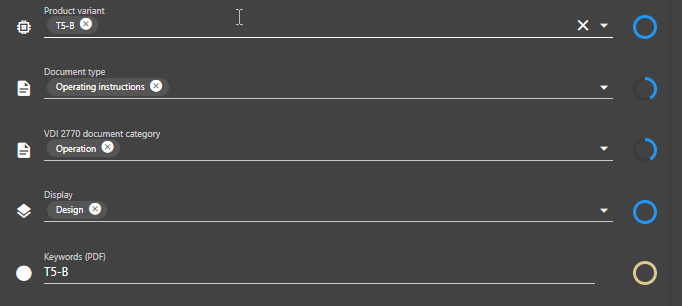
Suitable metadata is listed for the respective metadata type. Depending on the configuration of the metadata type, you can select several or just one list value. It is also possible to select the metadata from a taxonomy, i.e. a list with several hierarchy levels. - Approve metadata by clicking on the metadata indicators.
Approved metadata and approved objects are indicated by a green circle with a check mark.Note: You can also approve the entire object at once by clicking on the approval status. In this case, your required metadata will be approved and the object will be marked as approved.
Please note: You can only proceed to the next workflow step once you have approved all required metadata and all objects have been marked as approved.
Note: If metadata is not required, it is only displayed if plusmeta can extract a value. For this reason, metadata may not appear even though it has a configured metadata sort order. If you add the metadata manually using the add button , it will initially appear at the bottom of the list.
Add metadata
You can add more metadata using the Add button .
- In the drop-down list Metadata, all properties that have the “Metadata” system role are displayed. They can be configured in the properties view.
- If metadata is grayed out, this can have various causes. They are displayed using two icons:
- : The metadata cannot be assigned due to an object restriction (i.e. the metadata is not permitted for the current object type).
- : The metadata cannot be assigned due to a property restriction (i.e. the metadata is not permitted for the currently set metadata values).
Remove extracted metadata
You can manually remove extracted metadata from an object.
- Click on the icon of the desired metadata.
The metadata manager opens. - Click the Remove metadata button.
The metadata field is removed.
Note: If the metadata you want to remove has already been approved, you must first undo the approval. To do this, click on the metadata indicator.
If you want to add metadata or have accidentally removed metadata, you can use the Add button . You can then trigger the extraction again using the metadata manager.
Remove metadata values
To remove all values in a metadata field, click on the button on the right-hand side of the metadata field.
You can then trigger the extraction again using the metadata manager.