Content of this topic
- Layout
- Navigation sidebar
- Filter
- Search
- Settings
- Sorting
- Select multiple properties
- Favorites
- Delete properties
In the properties view, all properties are displayed. Properties in plusmeta include metadata, relations, classes, and more.
Layout
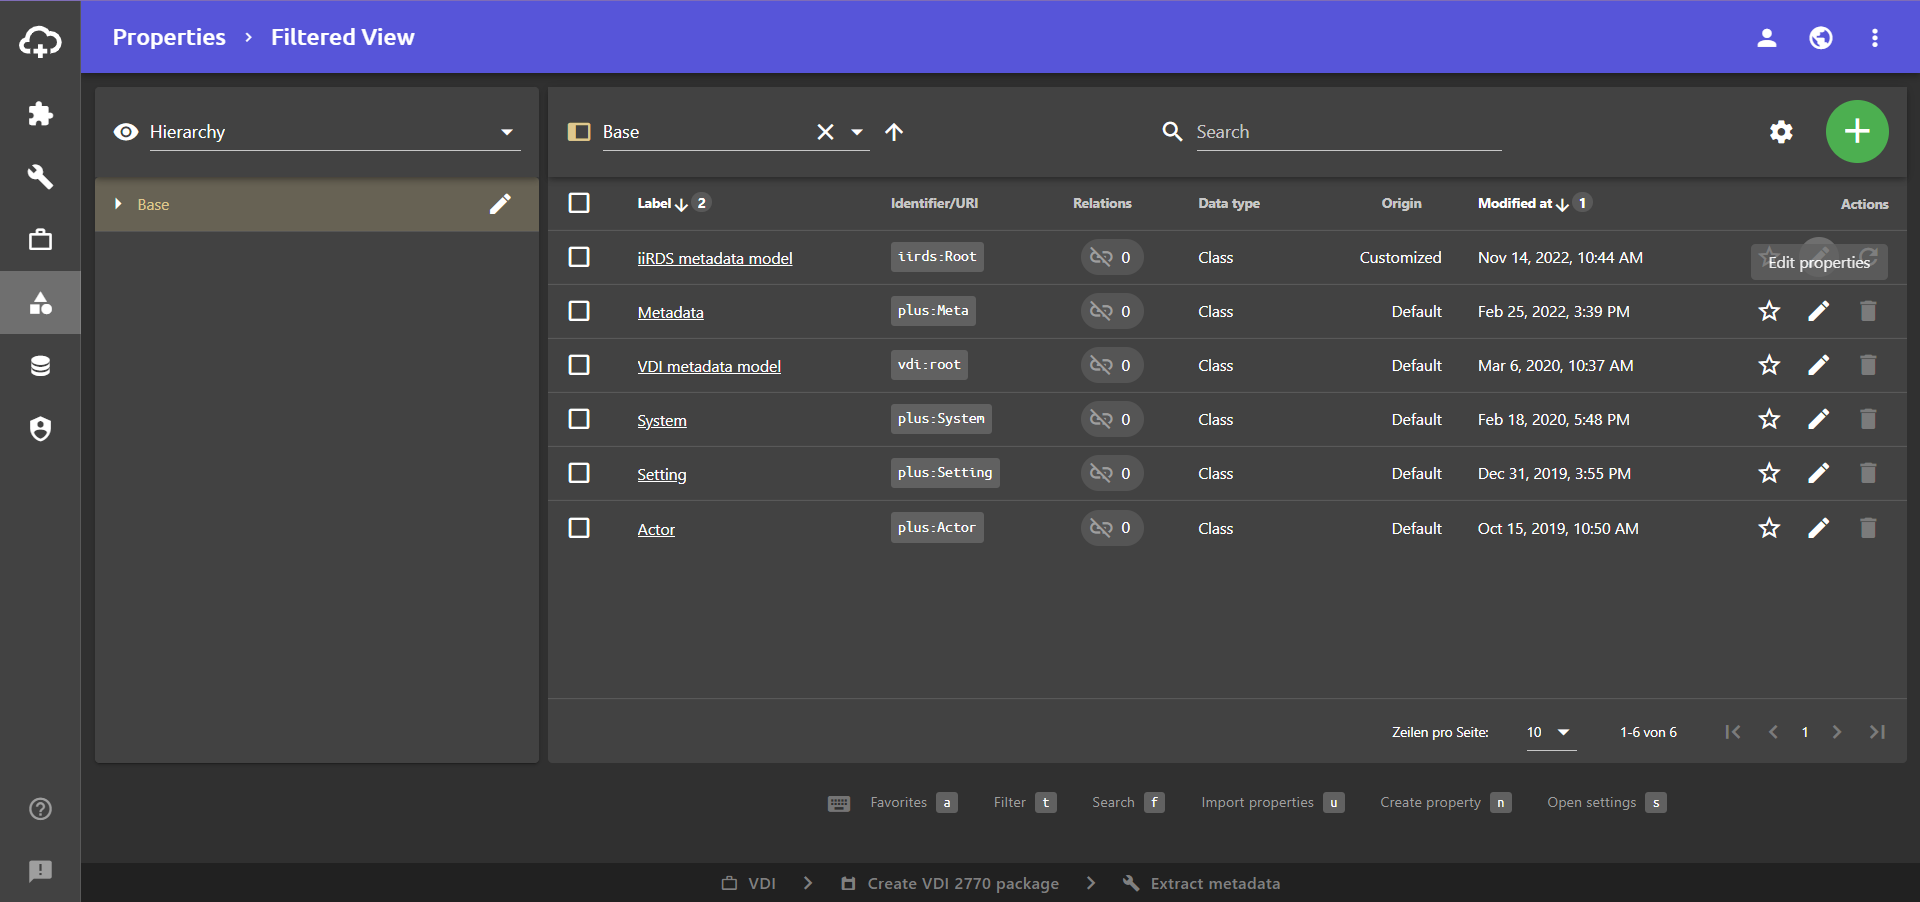
The properties view is a table view. The navigation sidebar is on the left-hand side and several columns are displayed on the right-hand side. The following columns are displayed by default:
- Label: This column shows the name of the property.
- Identifier/URI: The identifier or URI of the property is displayed in this column. This clearly identifies the property. Usually, a namespace is used as the prefix.
- Relations: This column shows the number of relations that the property has.
- Actions: In this column, you can edit , delete and add properties to favorites .
At the top of the table you will find the filter bar , the search bar , the table settings and the add button .
At the bottom you can set how many table rows should be displayed per page. If you have more properties than are set here, the table will span over several pages. You can switch between the pages at the bottom right using the buttons < and >.
Navigation sidebar
The navigation sidebar is located on the left-hand side, next to the table view. It is expanded by default, but can be collapsed using the button.
Using the navigation sidebar, the properties can either be displayed and filtered hierarchically or filtered according to their system role.
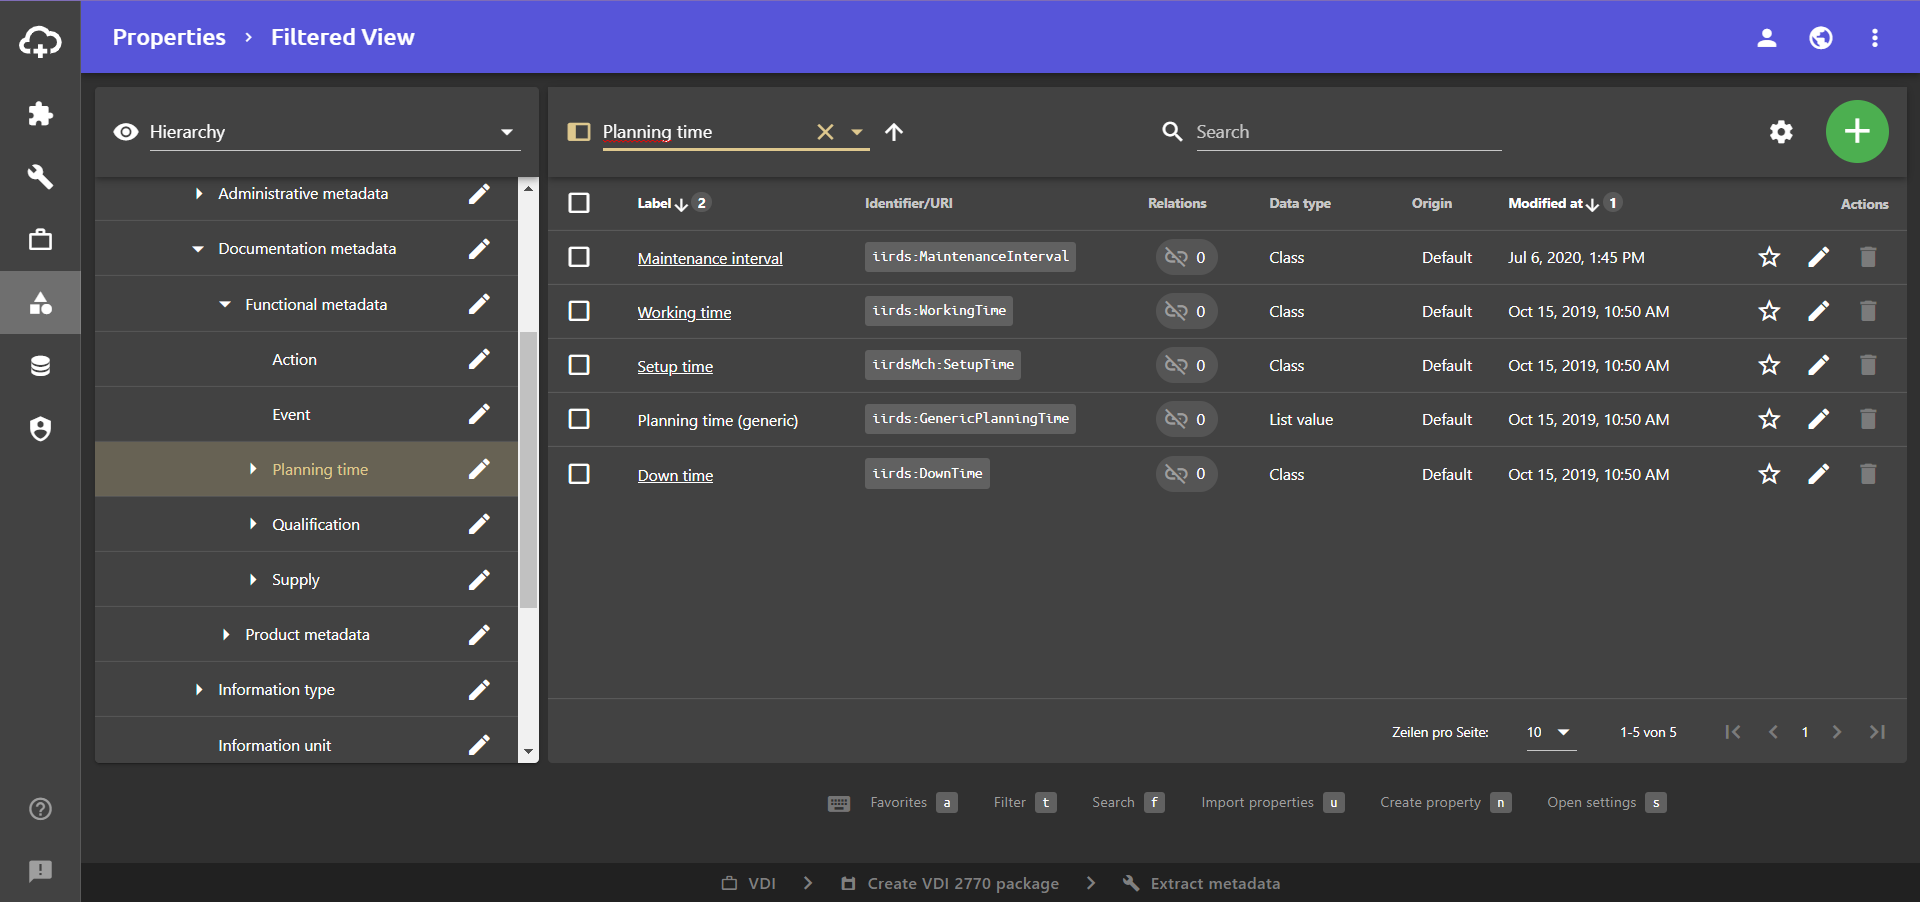
Hierarchy filtering
Hierarchy filtering displays the properties in their hierarchical structure. The hierarchical structure of the properties is determined by their respective class.
The hierarchical structure can be expanded using the arrows . However, only properties that also have subordinate properties appear in the navigation sidebar. The properties at the lowest level are not shown here.
If you click on a property, only the properties that are directly below the selected property are displayed in the table view on the right-hand side.
System role filtering
The various system roles can be selected via the system role filtering. The table view on the right-hand side is filtered accordingly.
Example: With this filter, it is possible, to only display the properties that act as metadata. Select the Metadata role in the system role filtering. The system role Metadata turns a property into metadata.
In the table view on the right-hand side, only properties that have the system role Metadata assigned are displayed.

Filter
You can use the filter function to filter the properties displayed in the table based on their class.
- Click on the field next to the filter icon .
A drop-down list opens. Next to the individual filter options, the number of properties for the corresponding filter can be seen in a blue circle. - Click on the filter option according to which you want to filter.
The drop-down list closes automatically and only the properties that match the filter are displayed.
The selected filter option can be seen in the filter field. - Click on the button in the filter field to remove the filter.
The set filter is removed and you can see all your properties again.
Search
You can search for properties using the search bar.
Delete your entry in the search bar to display all properties again.
In the properties view, the search bar is equipped with additional functions. You can open these by clicking on . In the advanced search settings, you can set which columns are to be searched.
By default, the columns Label, Identifier/URI and Data type/URI are searched.
If you select different or additional columns, the button is marked with a red dot.
To reset the property search to the default settings, you must first open the advanced search settings again. Here you can reset the search settings using the button Reset.
Settings
You can open the table settings via the settings button .
Click anywhere outside the table settings to close them.
Edit columns
You can use the drop-down list with the icon to edit the columns of the table view in the table settings . You can add or remove columns.
More information
The drop-down list with all the usable columns can be expanded next to the icon. By activating or deactivating the checkboxes , columns are added or removed from the table view.For more information, see the section Edit columns of the 'Customize table views' help page.
Filter ‘System role’
You can use the system role filter to filter your properties according to their system role.
- Click on the settings button to open the table settings.
- Click on the field next to the icon .
A drop-down list opens. - Click on the desired system role you want to filter out.
The drop-down list closes automatically and only the properties that match the filter are displayed.
The field next to the icon shows the selected system role and a red dot appears on the settings button. - Click on the button in the field next to the icon to remove the filter.
The set filter is removed and you can see all your properties again.
Export selection
Under Export, you can use the Export selection button to download properties that you have selected via their checkboxes as a JSON file. If you have not selected any properties, the button is not available.
- Activate the checkboxes next to the desired properties to select them.
- Click on the settings button to open the table settings.
- Under Export, click on Export selection to download properties that you have selected via their checkboxes as a JSON file.
The JSON file is automatically created and downloaded.
Export filtered properties
Under Export, you can use the Export filtered button to download filtered properties as a JSON file. If you have not set any filters, the button is not available.
- Set the filtering so that the properties you want to export remain.
- Click on the settings button to open the table settings.
- Under Export, click the Export filtered button to download the filtered properties as a JSON file.
The JSON file is automatically created and downloaded.
Export all
Under Export, you can use the Export all button to download all properties as a JSON file.
- Click on the settings button to open the table settings.
- Under Export, click the Export all button to download all properties as a JSON file.
The JSON file is automatically created and downloaded.
Download Excel template
Under Administration, you can use the Download Excel template button to download a template that you can use to easily import your properties (e.g. your metadata model).
The filled Excel template can be imported via drag & drop or via the add button .
Delete all filtered properties
Under Administration, you can use the Delete filtered button to simultaneously delete all properties that are currently displayed based on the filters you have set. This can be helpful if, for example, you want to delete all properties with the same prefix in the identifier.
If you have not set any filters, the Delete filtered button appears grayed out.
- Click on the settings button to open the table settings.
- Under Administration, click on Delete filtered to delete all properties that are currently displayed based on the filters you have set. The number of properties to be deleted is shown in brackets next to the button.
A dialogue window opens. - In the Delete filtered dialogue, confirm the deletion with YES .
The properties are deleted.
Sorting
By clicking on the column header, you can sort the table view according to the corresponding column.
- : Sort in ascending order (click once)
- : Sort in descending order (click twice)
Select multiple properties
- Click on the checkbox of a single row to select only this row.
- Click on the checkbox in the top row (heading row) to select all rows on the page.
Favorites
You can add properties to your favorites using the button in the Actions column.
- : The property is not currently one of the favorites. Click on the button to add it to your favorites.
- : The property is currently one of the favorites. Click on the button to remove it from your favorites.
As soon as you have at least one favorite, a favorites button appears next to the filter field : .
Activate the favorites toggle to only display your favorite properties.
Delete properties
You can delete individual or multiple selected properties. You can also delete all currently filtered properties at once. You can find out more about this above in the section Delete all filtered properties.
Delete individual properties
Within a table row, you can delete a property using the button.
Delete multiple properties
If at least one object has been selected using the checkboxes in the table, you can delete them using the button. The button only appears if at least one property is selected.